|
|
How do I create a thumbnail sized version of a larger image?
- Upload the original, full size picture into My Files. Keep in mind that some pictures can be quite large so you may want to use an image editing software program such as Photoshop Elements or Microsoft Photo Editor to resize the picture slightly before uploading as this will save on storage space and upload time. Alternatively, you can use the Resize Image tool in My Files, but this only works after you have uploaded the image. You can resize the image to a reasonable width and height such as 480px. Additionally, once you've resized the image the first time, you'll then be able to resize it once more to the thumbnail size (around 150px) but this time you'll make sure the "Save as a copy" box is checked before saving.
- Go to the page where you want to place the picture.
- Insert the smaller of the two images you just resized using the Insert/Edit Image button on the toolbar.

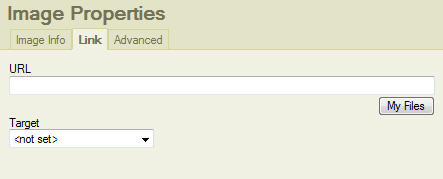
- While still viewing the Image Properties dialog box, click the Link tab at the top. Use the My Files button to find the same image to link it to itself so that when your site visitor clicks the thumbnail image, the larger version will automatically be displayed. Use the Target drop down selection to tell the browser how to display the image. Popup window is usually a great choice for this.

- Click OK and you're done.
- Don't forget to save!
Previous Page
|
|